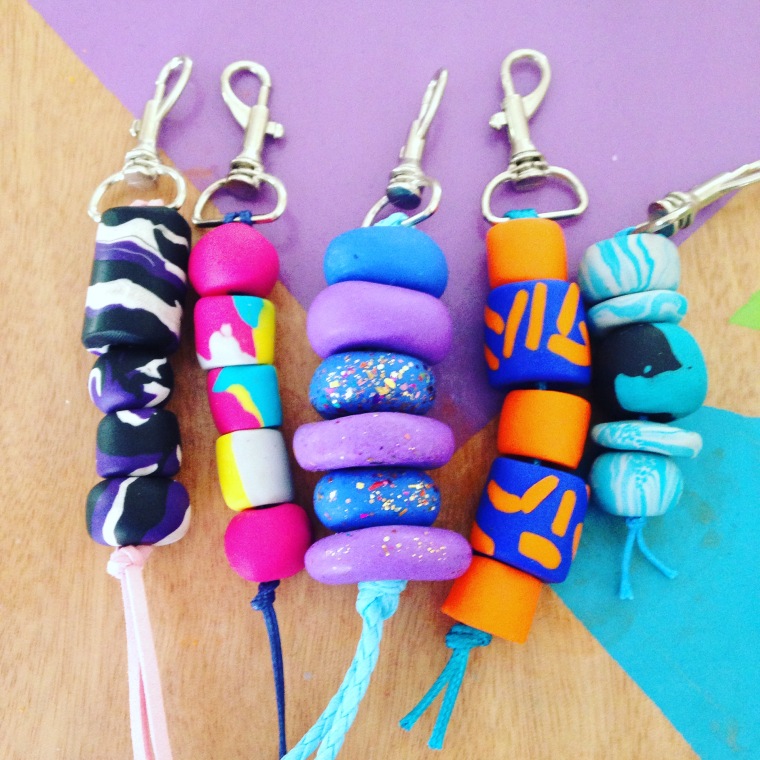
Get in early with this Chrissy Gift Idea!
It is that time of year again when we all start to think about gift ideas for friends and family for the festive season. I always like to give my close friends, colleagues and neighbours a little something to show how much I have enjoyed the year we have spent together and to show some appreciation for their assistance, friendship, and love. However buying lots of little gift surly adds up and at this time of year it can be hard to find the right items or stick to a budget. This year I have not had to spend a lot of time thinking about what to buy or what to make as I think I have come up with the perfect gift idea.

I had just packed up my left over polymer clay beads and clay packs to make room for another project on the go but found myself getting this all back out to experiment with this little fun and super easy gift idea. I do enjoy the feeling of working with this clay and the idea of a fast and effective present, a quick afternoon is all it took.
Polymer Clay Key Chains.
All you will need is:
-Polymer clay in your choice of colour. I have experimented with what I had left over but will be heading to the shops today to get some new colours. Experiment with as many different methods as possible, mix the colours, cut things out, stick it back together. After all it is like adults play dough. Use it like a child would.
-Polymer clay tools. I like to use some of my sewing tools like punchers as I call them. These make good holes, but a skewer or a sharp pencil works well. I also use a rolling pin (Nonstick), backing paper, wooded board for woking on as some colours will leave a mark.
-Paint or nail polish to decorate or add details. I love spray paint as it is fast, bright and easy to use and super quick to dry. The spray paint brands from art shops are best even though they are a bit more pricy, they dry faster and give a nicer coverage.
-Oven and tray.
-Keychains, rings and rope (String or leather cord)
Get started:
Getting started is super easy. warm up the clay with your hands until it is of the correct constancy, you will know as it is easy to work with and roll out. Depending on the shape of the bead or keychain you may either use your hands to roll a ball or a rolling pin to roll out a shape. As I’m sure i have mentioned before I am far from a perfectionist, I like my beads to look handmade and a little variation is charming. You want your friends to know this item was handmade with that look of shop bought. Cookie cutters are super for getting a range of shape such as circles and hearts. And they save time.
When you have created the desired bead shape place it on non-stick paper on a baking tray and follow the directions on the pack. Usually a cool oven for about 30 minutes. Let dry and decorate or leave and thread. I tried a few different ways of looking and knotting. See which one works for you but make it tight so they don’t fall off.
I string my beads up with leather strap or a cord. Use something that is heavy duty and will with stand strain. You want your gift to last the distance.


