Weaving on a Loom

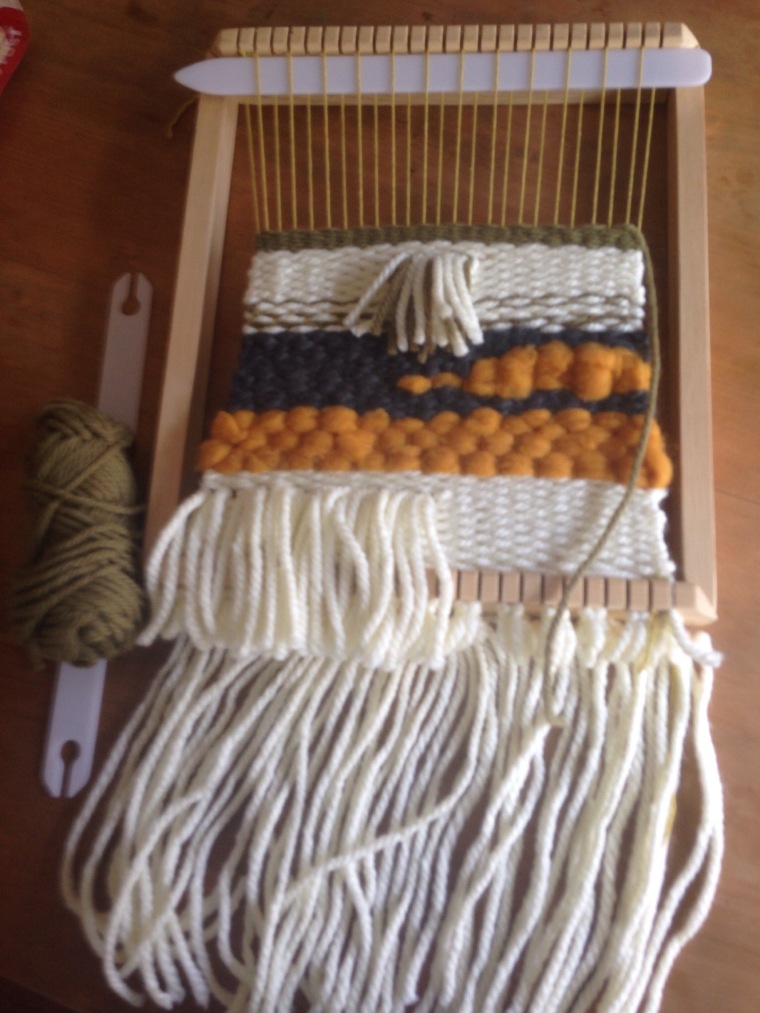
I recently purchased a loom from the other side of the country. I wanted a loom that was made of wood, looked cute and had some fun accessories to accompany it. It is lucky that we have so many great online shopping sites that allow us to purchase items from anywhere we like.

This item came handmade from Russia. There was something that drew me in when I read the ‘handmade in Russia’ label and saw the whimsical photos that accompanied. Photo’s of a youngish girl wearing a long dress, sitting in a field of wildflowers weaving with pastel wool. She had such lovely long wavy hair. You couldn’t see her face but just new she was a natural beauty. Straight away i pictured myself sitting in this field, enjoying the sunshine, smelling the flowers and weaving until my heart was content. What a craft girls fairytale.

The packaged arrived on a sunny afternoon. wrapped in old fashion brown paper that was ripped open in an instant to reveal my wooden loom in three pieces. My heart sank. What had happened during the shipping process. All of a sudden my image of sunshine, wild flowers and pastels faded to broken wood splinters.

I just stood and looked at the loom. I really didn’t know what to do. Where to start. Lucky for me the hand guy I live with (My husband) took the many pieces of the loom to the man cave and returned with it an hour later all fixed with a bit of love (liquid nails and tiny screws).

The fairy tales returned. I headed outdoors for a tad of plein air weaving.

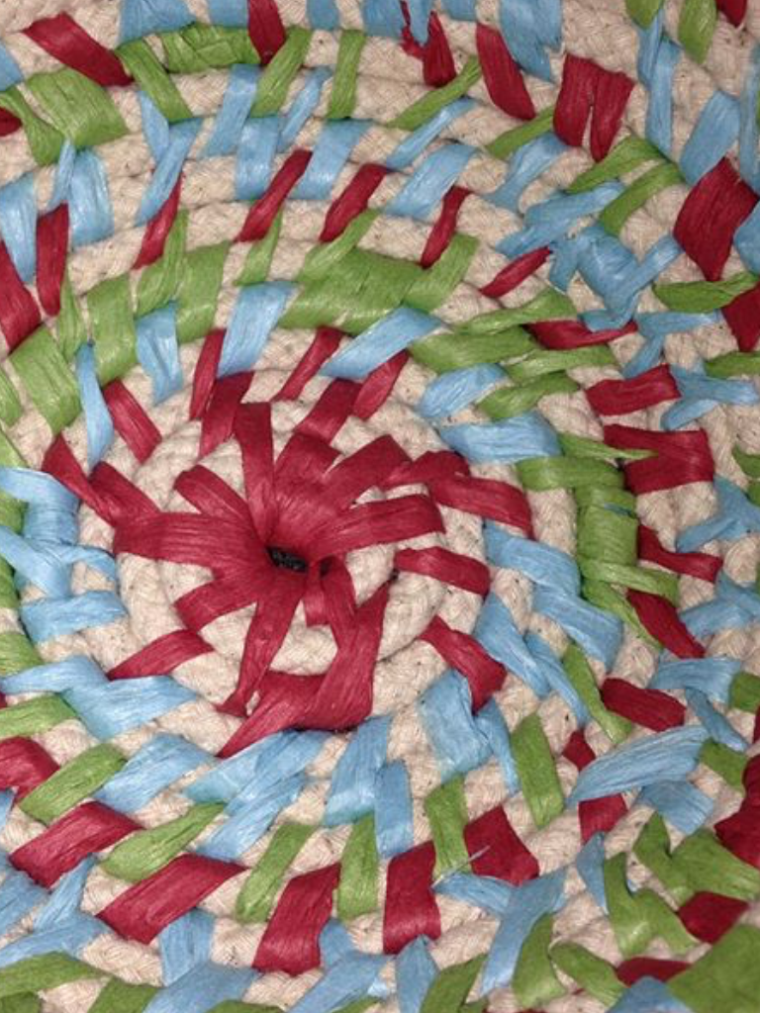
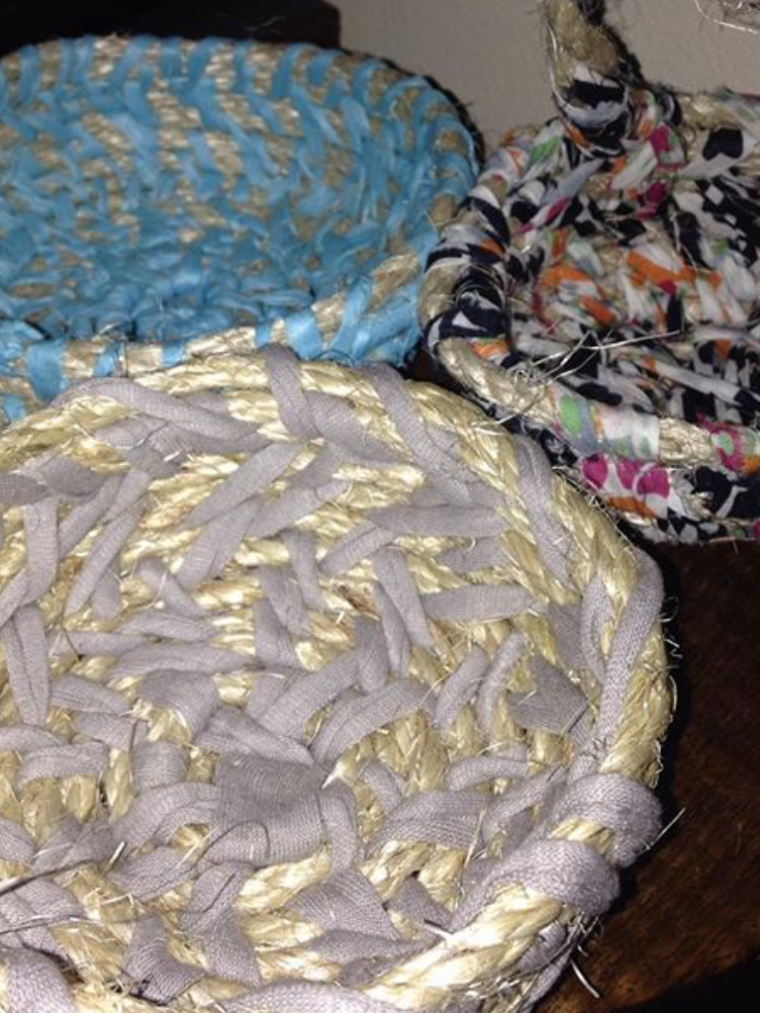
My weaving aim thus far is to use only wool that has been discarded, thrown away or purchased at a thrift shop. Some projects have been on hold during the course of wool finding. Others are waiting with their matching wool groups for the perfect fit. It is a slow process but there is something challenging and exciting about finding the right fit and using something that has been discarded. Also the wool I buy is only about $3.00 and not $20 plus. A Bargain. Working with natural fibres is also very enchanting, the feel and the process excites me.

The next step is to hand dye some natural wool I bought at a country market.

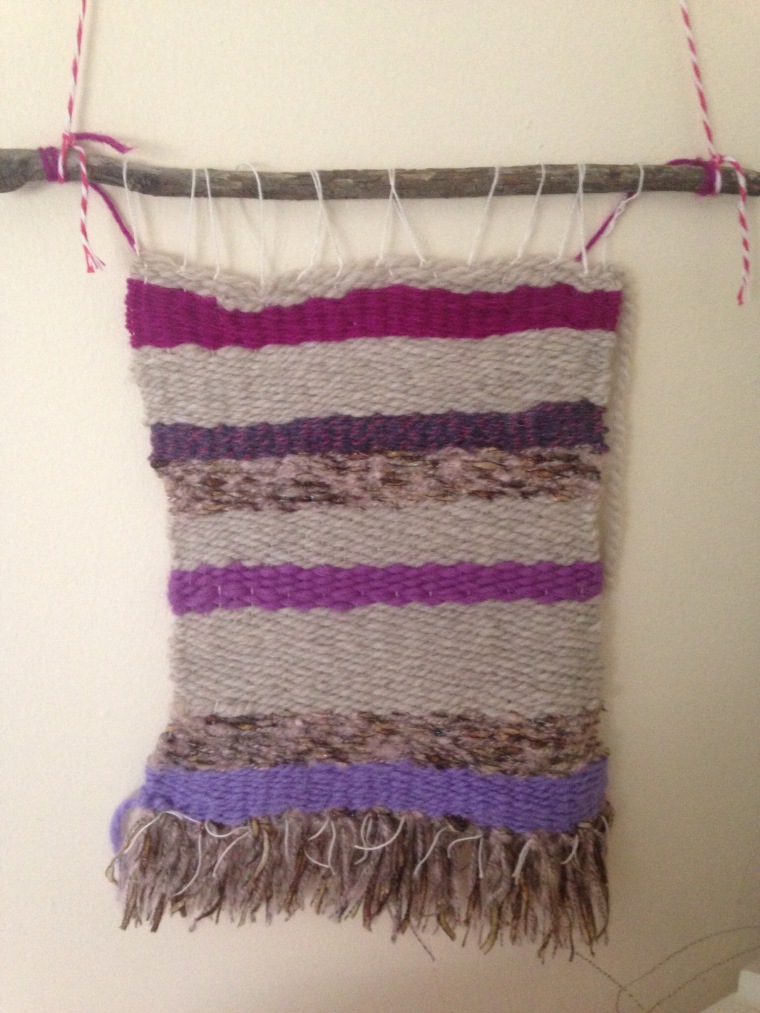
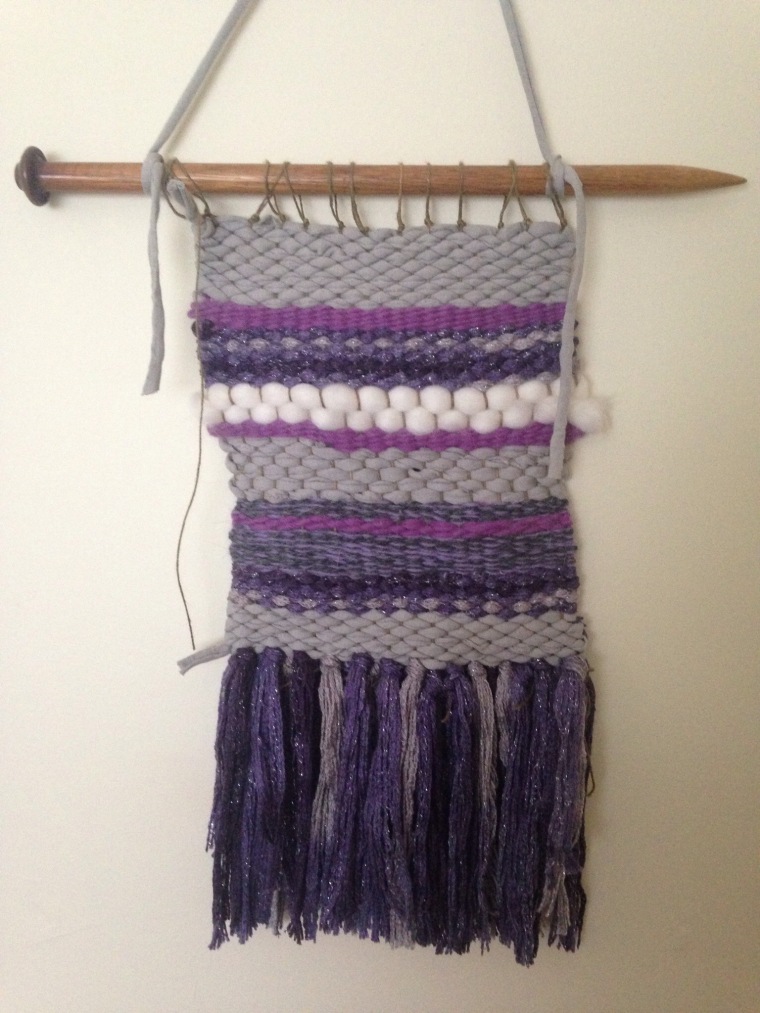
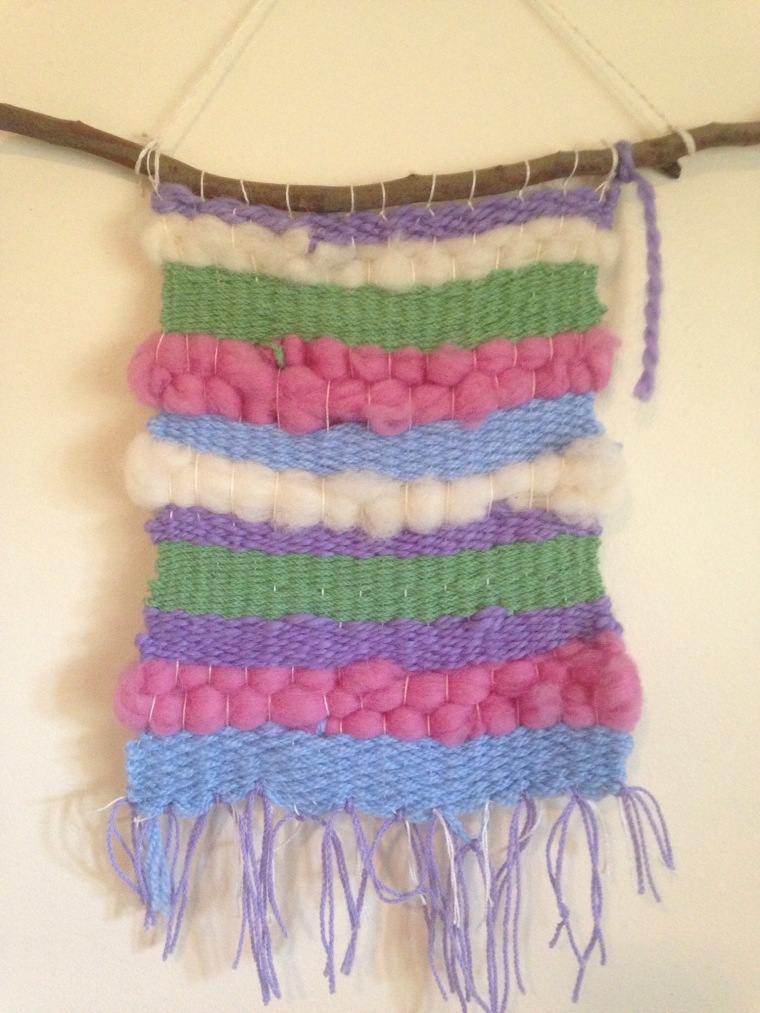
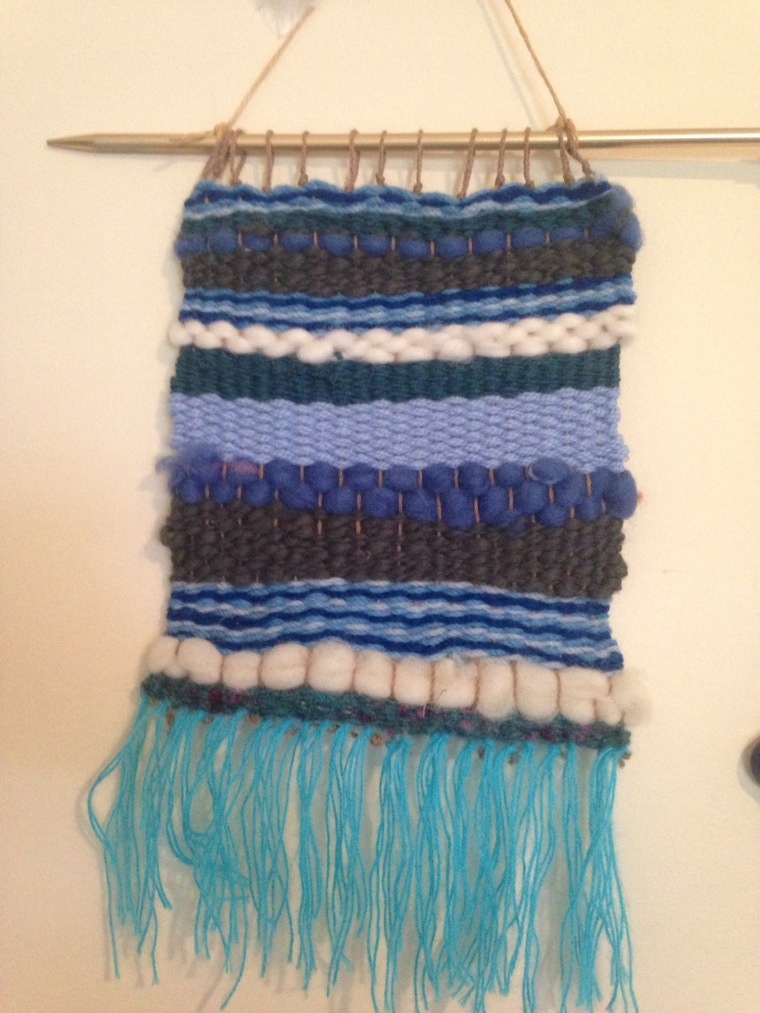
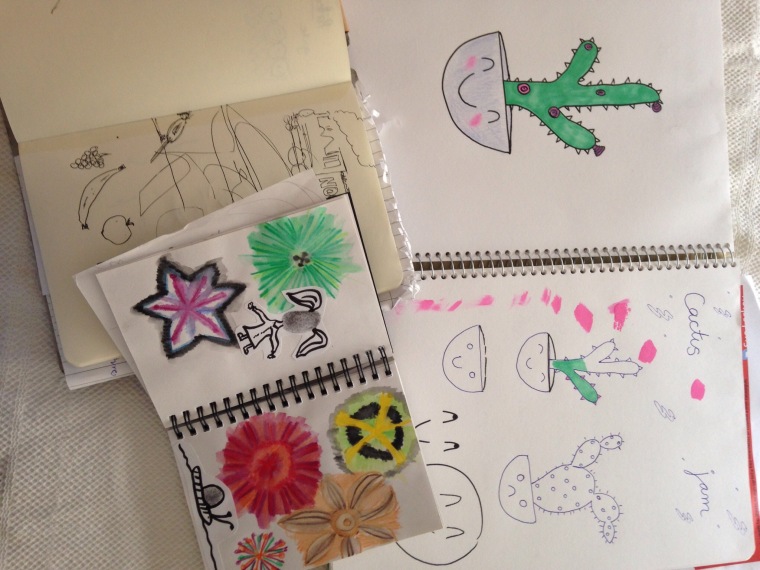
Here are a few of my weaving projects so far, as well as the one waiting on the loom for my next wooly find.

IMG_8667.JPG

IMG_9540.JPG

IMG_9547.JPG

IMG_9545.JPG

IMG_9543.JPG

Basket Weaving

Weaving is an old craft. Basket weaving is the process of weaving or sewing natural or pliable materials into a three dimensional shape that can be used to store, carry or hold items.

I begun to experiment with basket weaving leading up to Christmas last year when I wanted to create a carry case to hold my handcrafted Christmas presents. I wanted to create a carry case that would be a gift in itself, not something else to end up in landfill and something that would be treasured, used again and something using natural materials.

I experimented with a range of natural ropes and found that the rough ones doesn’t slip as easy and hold their shape more once constructed. I experimented with sewing, gluing and tying.

The following process is only one method and it is the easiest method I found to get a quick basked that can be as big or small as you like.

You will need:
~ A long piece of rope. This will depend on the basket you wish to make. I bought about ten metres at my home hardware store and just cut it off when the basket reached the size I wanted.
~A plastic needle with a large eye. (The eye is the end of the needle the cotton, or sewing material thread through)
~ A selection of Raffia in any colour you choose.

Steps:
1. Start by wrapping the raffia tight around the end of the rope until you are happy with the tension and then rap the end of the rope into a coil to begin the base of the basket. Use the raffia and needle to thread through the tight gapes between the coils and pull tight.

2. Continue to wrap the rope into a basket shape and putt tight overlapping the raffia using the needle.

The rope must be pulled tight and held tight which was a bit hard on my hands. But I did manage to make a small basket in one sitting.

IMG_7625.JPG

IMG_7626.JPG

IMG_1206.PNG

IMG_1207.PNG

IMG_1208.PNG

Visual Diaries with Children …..or Adults

A visual diary has many uses. Creative folk keep these as a journal, visual notebook, ideas book, mediums and styles tester journal and for other reason like travels diaries. I however keep them for all of the above. There is something wonderful about opening a new diary or starting a fresh page. I also love to look back through these journals and see what inspired me at the time or what I was influenced by. A visual journal should be a visually pleasing book. something you enjoy working on, sharing and viewing.

Think decorative headings, cutting up paper or packaging, gluing images you find pleasing, fabrics, ribbons, using coloured pens, pencils or markers, paints, printing, photos and anything else you love.

Some people however find it daunting to look at a new blank page or a new diary. Where do they start or what should be the first mark.

I have been working on a plan for visual diary ideas to get creative minded people started on what should be first.

Take the 30 Day Visual Journal Challenge

To Get Started:

What book do I use?

Start by finding a book or a journal with blank pages. This will give you creative freedom with the direction of how each page can be used. If we have lines we automatically think we need to stick to them, within them or on them. Blank pages can be used upside down, sideways diagonal or any other way you can think of.

What is your aim?

Why are you starting a visual diary? Is it for work, pleasure, to keep track of your ideas, inspirations or a visually pleasing book to showcase your holiday or cooking ideas. I keep many visual journals for many different purposes. I have work books to sketch ideas and brainstorm, art journals that house my ideas and inspiration for my next project and journals for holidays, recipes and projects.

How will you keep up to date?

Set aside some time each day to update or add to your journal. Plan each day when you will work on your journal. This will help to ensure you get around to it. Choose a time when you are able to sit for an amount of time that suits you and what you wish to achieve. Set up somewhere you can spread out with all the tools you will need.


To get started click on the page titled: The 30 Day Visual Diary Challenge.


IMG_9105.JPG

IMG_9101.JPG

IMG_9107.JPG

IMG_9106.JPG

Easter Bunny Masks

Working as an art teacher I am always pre planning fun activities that relate to special events that are celebrated during the year. Especially events that children enjoy. I love handmade gifts, decorations and items that engage children in these events that they love so much.

As we approach Easter I have been busily cutting (also hired some helpful parents) to cut out approximately 100 bunny masks. I choose felt as the medium as the texture related to the soft fur of a fluffy bunny. I love using felt and try to expose children to a range of mediums and textures. It is good for their sensory development. Felt also lasts longer when little fingers are taking on and pulling off their masks over and over again. My third reason for choosing felt is that it a great surface to glue on to using a regular glue stick.

Use the scraps that are left over from the cutting out of the mask as these are great for gluing on to the mask. You might also like to try cotton wool balls and any other craft items you may have. This will make the masks more personal and fun!

I used a hole punch to put two holes in the mask where I tied on some hat elastic. You might like to sew the elastic on.


IMG_9102.JPG

IMG_9108.JPG

IMG_9113.JPG

IMG_9111.JPG

DIY Wahi Tape

As I have written about earlier Washi Tape is a fun way to stick, decorate and update items, artwork and even more boring items like work documents.

It is however a bit costly for the best quality and decorative ones. When working with littles they tend to go through a lot of rolls if not monitored. When looking through my art supplies the other day I found a handy roll of masking take and thought that it would be fun to use this to make my own ‘Washi’ inspired tape.

As I was working with pre schoolers we decorated it using crayons. The coverage was good and we spoke about creating patterns using shapes and colours.

They where very proud to use this tape on their work.

IMG_9025.JPG

IMG_9027.JPG

Handmade Costumes- Pocahontas Headdress

We all know that children (and adults) love to dress up. Dressing up in costumes and using props is an important developmental step for children. It encourages them to use their imagination, tell and invent stores and interact with others.

Children should be encouraged to dress up, invent costumes and put on plays in front of an audience. For older children writing plays, producing props and costumes and directing are also other ways to engage children in Performing Arts.

I have been working on a range of costumes for a production and also making some extra to add to our dress up box.

Inspired by the Disney film Pocahontas this feathered head band was super easy to make and suitable for children of all ages.

I love working with felt. It is easy to cut,  glue and sew.

Other items you will need are:

  • Sewing machine or needle if sewing by hand.
  • Thread for sewing (The type of thread will also be determined by the type of sewing hand or machine)
  • Felt in a range of colours
  • Ribbon or hat elastic
  • Florist wire (If you want your feather to stick up)


IMG_1182.JPG

IMG_8978.JPG

IMG_8975.JPG

IMG_8979.JPG

IMG_8977.JPG

Poly Clay Bead Making

Poly Clay is an oven bake clay mineral clay. It is not actually made out of natural clay rather a mineral material. It is easy to use and quick to bake. It has a similar consistency to plasticine and is slow to dry out in air. To get the best of your clay it should be stored in an air tight container out of direct sunlight.

I have been playing with Poly Clay or Polymer Clay lately. I have tested out a variety of brands and experimented with the best ways to make different shape beads and jewellery. Different brands feel different and some seem better for children than others as they are softer and easier to work in to different shapes.

It is extremely easy and a fun way to create a lovely item to wear and show off. Also a great gift for a loved one.

The clay is easily moulded when it has been heated up and worked with your hands. It is then shaped to create the ideal item. To create a perfectly round ball roll your hands close together in small circles. These can then be flattered out or kept circular. I am not a perfectionist and like items to show their imperfections especially if they are original handmade one off items.

There are a range of tool on the market that can make make perfect beads easy. Bead rollers and trays can help to make perfectly circular beads. this may be something you look at if you wish to make a rather large necklace with all the same size and shape beads.I found a range of items around the house that I knew would work to get me started.  I used a non stick rolling pin, sharp knife, skewers, tray and tin foil to hold the beads up off the surface so they held their shape.

Since beginning to experiment with the clay I have found endless ways to create patterns, designs and to decorate the individual beads.

I have since bought some tools to make the job a little easier and to experiment with. I bought a cheap set of very cute dotting pens, a sharp art knife and sharp hole puncher.

IMG_8923.JPG

It is fun to experiment with mixing colours together in different ways to create patterns, designs and new colours or tones. To make the swirls roll out two long skinny sausages and then twist these colours together until you are happy with the design. Roll out as beads. The beads below where constructed in a similar way. Roll out a sausage to the size of the beads you want. Cut out shapes from a different colour and stick them on. Roll the beads out gently.

IMG_8809.JPG

IMG_8815.JPG

IMG_8832.JPG

IMG_8817.JPG

IMG_8818.JPG

The clay is then baked in the oven following the brand instructions for a short amount of time. usually 25-30 minutes. If the oven is too hot the clay will bubble and burn.

IMG_8805.JPG

Playing with Washi Tape

Who doesn’t love Washi (pronounced wa-sh-eee) tape? For those of you who don’t know what this is. It is a Japanese paper tape. It can be stuck on anything and easily removed. Easily ripped and a great and quick way to decorate presents, planners, diaries, book, word documents and anything else you think of. It is also very fashionable at the moment to use this tape to hang pictures or prints on your wall instead of having them framed. I use it a lot to stick up inspirations, photos and fun things I find in my studio.

One reason I love it so much is it is a great craft tool for little children and little fingers. It is easy to stick down but not so sticky that it gets stuck to their fingers. A fun and quick way to decorate or to jazz up a work of art.

If using this tape with small children or toddlers I recommend ripping up a few colours into a range of sizes and attaching them to the edge of the table for easy peel off. Washi tape can be purchases online at a number of stores or at stationary retails and at some budget shops.

IMG_8949.JPG

IMG_8948.JPG

IMG_1179.PNG

Make Your Childs Room a Work of Art

Decorating my child’s room has become a hobby of mine lately. I recently saw a papier mache stag head for sale in a children’s clothing shop that caught my eye. I have been on the look our for a blank paper mache stag head to create my own version.

I found this one at Spotlight for about $25.00. It is all ready to be covered in your favourite medium. I have chosen to cover mine in fabric.

You will need approximately a meter of fabric. I recommend choosing a dark colour as the brown paper background will show through. Otherwise paint the bust white first. It was easiest to rip the fabric in to strips when covering the antlers. This will give you a straight line to work with. Fabric that is not cotton will need to be cut.

To make the glue you will need an old container, a stick to stir, PVA glue and water. I made a mix of runny sticky glue that was easy to dip the fabric into and then smoodgy around on the bust to it filled each groove.

I have since covered a range of other items in the same way. I am working on a set of polystyrene bunny rabbits for easter covered in a range of floral fabric and a set of cardboard love heart boxes for gifts.

IMG_8842.JPG

Mini Cactus Sculpi

It felt appropriate to share a little project about cactuses to keep in line with the blog title. I have had a box of modelling clay sitting in my studio for years waiting for the perfect project. And finally it occurred to me that the colours would be perfect for mini cactus statues.


This type of modelling clay is perfect for little fingers once it has been warmed up. It also takes a while to dry so if left out it can be re used, again idea for kids to create with.

IMG_8722.JPG

IMG_8723.JPG

IMG_8729.JPG

IMG_8725.JPG

As it is sticky it is easy to join colours and pieces together and easy to separate colours. Great for small fingers and also a great activity for using fine motor skills.