Mono Printing with Children

There are so many fun ways to crete art with children. I love how children don’t see things as they are. For example a box holds endless possibilities for their imagination. Recently my toddler has become a box enthusiasts. We have things made from boxes all over the house. I have begun to hid them so we can reduce the amount of clutter they all bring. But to see him riding his box horse called Pebbles or sitting in his fire truck is the best part.

The other day however I wanted to experiment with some extremely messy printing work with him so I prepared the room. Drop sheets, plastic table cloth, art smock and all the tools ready at hand so I didn’t have to leave him with the paint while I went looking for equipment.

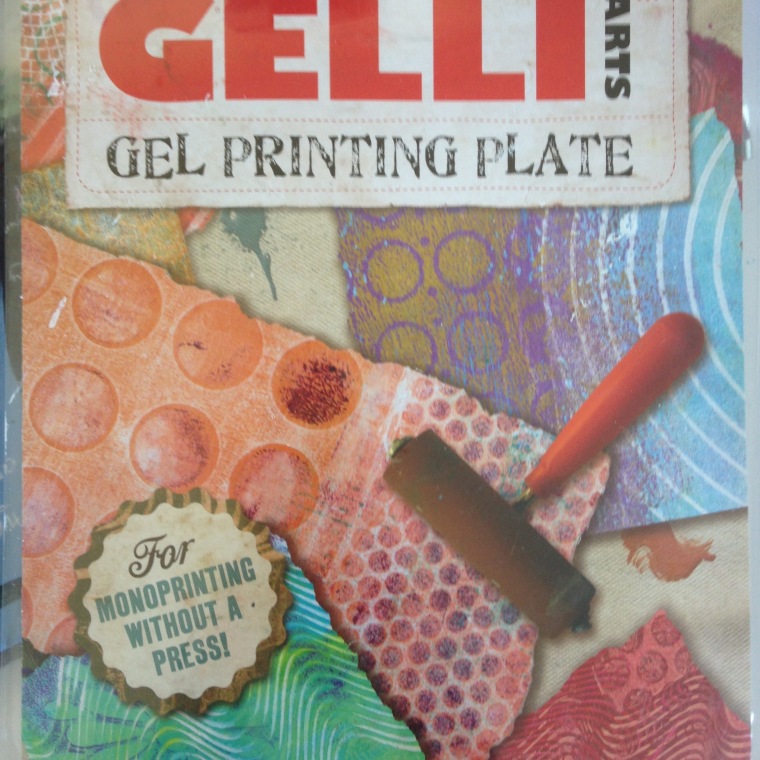
I had bought some Gelli pads from my classroom and let the older students go nuts with them. They couldn’t get enough and neither could I. It was the easier and quickest was to get a solid, bold print. The gel pad holds the colours and the ink so well. Using the water based acyclic paint you have at home woks wonderfully. It is easy to set up and easy to clean up.

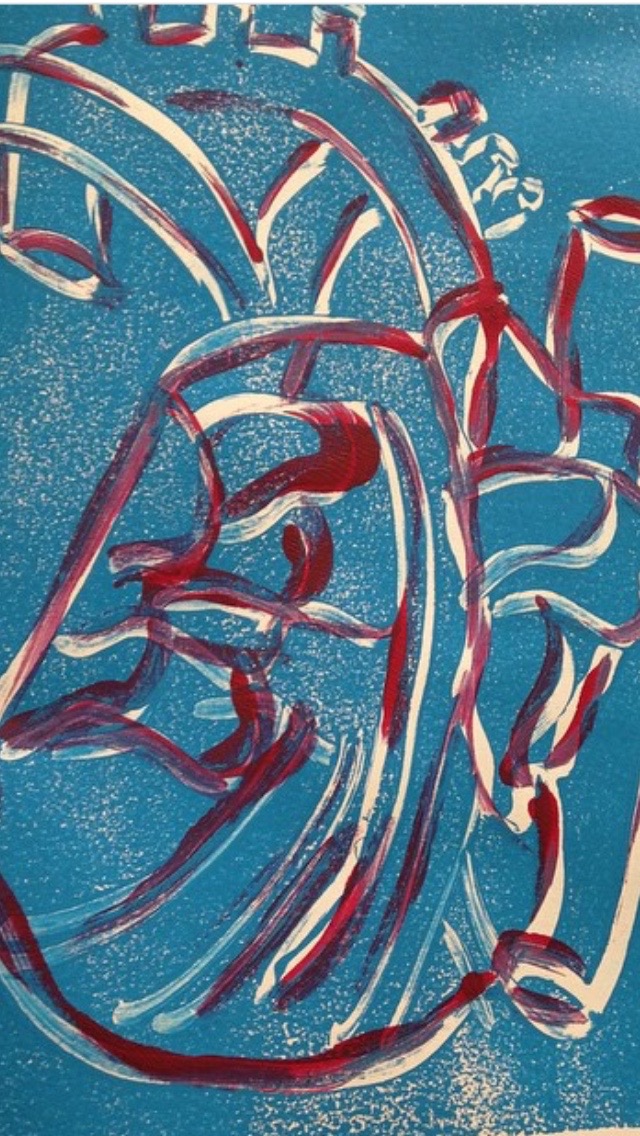
I was surprised at how well my toddler went using the roller, scrapper tools and paint as well as the printing with paper. He had a ball.

The outlay for the pad is the most expensive part at approximately $50 for a small one. I believe it is worth if for the hours of fun you can have. IMG_3910IMG_3911IMG_3915IMG_4037 (1)IMG_3933

Weaving on a Circular Loom

I stumbled across the most precious little circular loom. It was laser cut out of wood, small and delicate and had the most natural smokey smell. As soon as I saw it I knew it would make a lovely travel craft tool. Fit in your pocket, take with you easy to store craft items are always hard to find.

I begun to weave using a range of different wools, strings and threads. Anything i could find or source from a thrift shop (Such a fantastic range of wool that has been unwanted, and oh so cheap).  I already had so many ideas of what I would use these mini weaves for. Gift wrap decorations, christmas decorations, decorations to hang with my larger weaving and more decorations.

When I had finished the weaving I unhooked my final piece and was a bit disappointed as it all curled up like a mini bowl. As it is a circle shape and was so tight I found that they always ended up in this bowl shape. Still cute but not what I had planned. I was a little disappointed with the end result but still found them to be cute as christmas decorations and for gift wrapping. They where quick and easy to make on the run or while watching tv. Give it a go and see for yourself. IMG_3855IMG_3856IMG_3859IMG_3860


Screen Printing Workshop

A few months ago I attended a Screen Printing Workshop. I have always enjoyed screen printing and dabble in the arts occasionally. I have a little screen, a paint scrapper I use as my squeegee and some small pots of paint that I update every so often. I had my eye on a course for a while and finally thought I should just shout myself for my birthday.

The course was designed so students could get all of their Christmas presents out of the way and have a number of lovely handmade gifts to share with friends and family. This was the selling point for me.

I also love to mingle with creative people who share a love of creating, learning and experimenting.

The course was at an old warehouse turned large shared art studio space in Brunswick West, Melbourne, Victoria. The space is called ‘Home Work’. The space is lovely, light and filled with creative inspirations. It makes you just want to create.

Over the span of two days we had the chance to cut stencils, print, design and print. It was super fun. It was a great course for all ability levels from beginners to experienced screen printers. Especially those who lack the space, time or enthusiasm to get started.

I also left with some beautiful christmas cards, pillow slips and tea towels. They made fab Christmas gifts. I’ll definitely be thinking about taking another course soon.

God’s Eye Tutorial

I have always loved Mexican art, Frida and the colours and styles of the architecture. They are very expressive and bold with colour, texture and images.

While planning an art unit for some students I wanted to create an activity where the students have to create an art items by looking at pictures with no written instructions. The idea of students creating a God’s Eye fitted into our textile unit.

Here are the images that they students will be following. I hope these inspire you to do some weaving and create one of these special pieces that warn off evil. Im sure we could all do with something like that in our houses.

Art on the Road

I always pack a selection of art and craft items when I travel. The amount and type vary depending of where I am going and how I am getting there. On a recent trip to Queenscliff I didn’t take anything as I didn’t think I would have time to do any art. When the weather turned bad and some of the activities fell through I was annoyed with myself for not being prepared. I started seeing inspirations everywhere and wanted to record them. I found myself looking for an art supply shop or a newsagent to buy something to get me by. A pack of watercolour pencils, some felt tip pens and a new mini sketchbook was all I needed.

So when I am prepared and know I’m going away for a while I have a few go to items that I pack.

A small pack of watercolour pencils is essential as well as a pad of paper or a journal. I also pack a travel watercolour pallet, some brushes, felt tip pens and a nice set of lead pencils. A pair of scissors, washi tape and some glue will also allow you to glue, cut and add to your journal along the way. These items will also add some fun and can be used if you want to scrap book your travels.

It will really depend on your art style as to what you will be taking on your travels however if  this is all new to you or if your packing for children these items would be enough to inspire them to get creative while on the road.

When packing for my toddler I always pack some safety scissors, glue stick, fat pencils or crayons and my instax camera so I can capture the adventures and let him create his own postcards, travel diary or posters. I love to then add these to my visual diary as a memory of his age and his art creations at the time.

Making an Outdoors Play Space

My toddler has decide he just wants to stay home and play. When asked if he wants to go swimming, go to the shops, even playgroup he replies with ‘no mummy, play outside’. This is fine by me as we all love our backyard and working in the veggie patch or garden is a supper fun hobby of mine.

So over the weekend we decided to have yet another working bee and add some features to the toddlers cubby house he got for christmas to make him a proper outdoor play area.

We had been given some fake turf in a rang of colours as well as having some free left over from another project so decided this would be the basis for our design.

After a trip to the hardware shop and a sausage in bread for the meat eaters we headed home in some wood and screws in tow.

We didn’t really know how this project would turn out but I did have an idea in my head for what i envisaged. Many hours spent playing dinosaurs with leaves, twigs and building caves with rocks and old opts. The image seemed so fun. So we started the build. Lucky the toddler headed off for his nap leaving the adults to work away at an alarming rate to get the area ready for the spurs reveal after the afternoon snooze.

The end result was pretty similar to what I had planned. But as aways as we worked away more and more ideas come to our minds on what the areas needs, so we will be spending a few more weekends out on the tools turning the back corner into a toddlers paradise.

IMG_9452.JPG

IMG_9453.JPG

IMG_9451.JPG

Weaving on a Loom

I recently purchased a loom from the other side of the country. I wanted a loom that was made of wood, looked cute and had some fun accessories to accompany it. It is lucky that we have so many great online shopping sites that allow us to purchase items from anywhere we like.

This item came handmade from Russia. There was something that drew me in when I read the ‘handmade in Russia’ label and saw the whimsical photos that accompanied. Photo’s of a youngish girl wearing a long dress, sitting in a field of wildflowers weaving with pastel wool. She had such lovely long wavy hair. You couldn’t see her face but just new she was a natural beauty. Straight away i pictured myself sitting in this field, enjoying the sunshine, smelling the flowers and weaving until my heart was content. What a craft girls fairytale.

The packaged arrived on a sunny afternoon. wrapped in old fashion brown paper that was ripped open in an instant to reveal my wooden loom in three pieces. My heart sank. What had happened during the shipping process. All of a sudden my image of sunshine, wild flowers and pastels faded to broken wood splinters.

I just stood and looked at the loom. I really didn’t know what to do. Where to start. Lucky for me the hand guy I live with (My husband) took the many pieces of the loom to the man cave and returned with it an hour later all fixed with a bit of love (liquid nails and tiny screws).

The fairy tales returned. I headed outdoors for a tad of plein air weaving.

My weaving aim thus far is to use only wool that has been discarded, thrown away or purchased at a thrift shop. Some projects have been on hold during the course of wool finding. Others are waiting with their matching wool groups for the perfect fit. It is a slow process but there is something challenging and exciting about finding the right fit and using something that has been discarded. Also the wool I buy is only about $3.00 and not $20 plus. A Bargain. Working with natural fibres is also very enchanting, the feel and the process excites me.

The next step is to hand dye some natural wool I bought at a country market.

Here are a few of my weaving projects so far, as well as the one waiting on the loom for my next wooly find.

IMG_8667.JPG

IMG_9540.JPG

IMG_9547.JPG

IMG_9545.JPG

IMG_9543.JPG

Mini Cactus Sculpi

It felt appropriate to share a little project about cactuses to keep in line with the blog title. I have had a box of modelling clay sitting in my studio for years waiting for the perfect project. And finally it occurred to me that the colours would be perfect for mini cactus statues.


This type of modelling clay is perfect for little fingers once it has been warmed up. It also takes a while to dry so if left out it can be re used, again idea for kids to create with.

IMG_8722.JPG

IMG_8723.JPG

IMG_8729.JPG

IMG_8725.JPG

As it is sticky it is easy to join colours and pieces together and easy to separate colours. Great for small fingers and also a great activity for using fine motor skills.